|
<< Click to Display Table of Contents >> Staff |
  
|
|
<< Click to Display Table of Contents >> Staff |
|
Staff
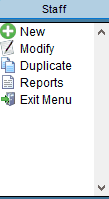
From the Staff Control Bar a number of tasks can be carried out.
| • | New allows creation of a new Staff Account. |
| • | Modify allows modification of the Staff Account currently selected in the Manage Staff screen. |
| • | Duplicate allows duplication of a Staff Account. |
| • | Reports brings up a window listing all of the Staff Reports. Select the required report and click select to bring up the report window. |
| • | Exit Menu closes the Staff Control Bar Menu and the Manage Staff screen. |
Manage Staff
Allows addition and maintenance of Staff members.
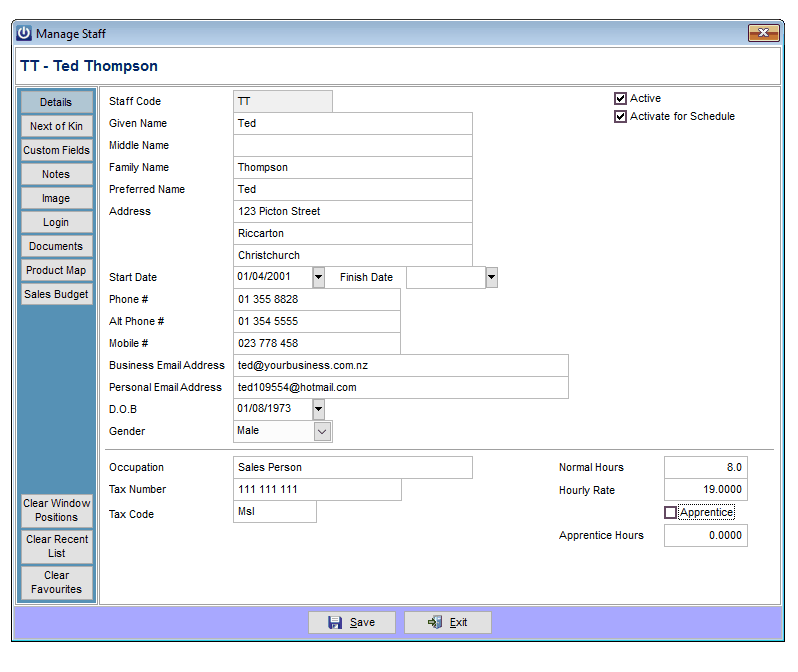
Details
Information in the Details window includes Staff Member’s Name, Address and Contact details. A business email address needs to be entered to use allow the staff member’s email address to be used when emailing documents from within Infusion.
The Staff member can be made inactive by deselecting the Active tick box option. For the Staff member to display in the Scheduler (Service Manager and Elite packages only) select the Activate Schedule / Calendar option.
Next of Kin
Allows for information on three next of kin to be stored.
Custom Fields
Allows for user defined information to be recorded. Description Fields can be edited in Admin / Settings / Manage Staff Defaults / Custom Fields.
Notes
Allows for general Notes about the Staff Member to be kept.
Image
Allows for images of the Staff Member or any other related image to be stored.The Default Image is used to print on the Staff ID Card.

Login
Allows set up of Staff Login access to Infusion.
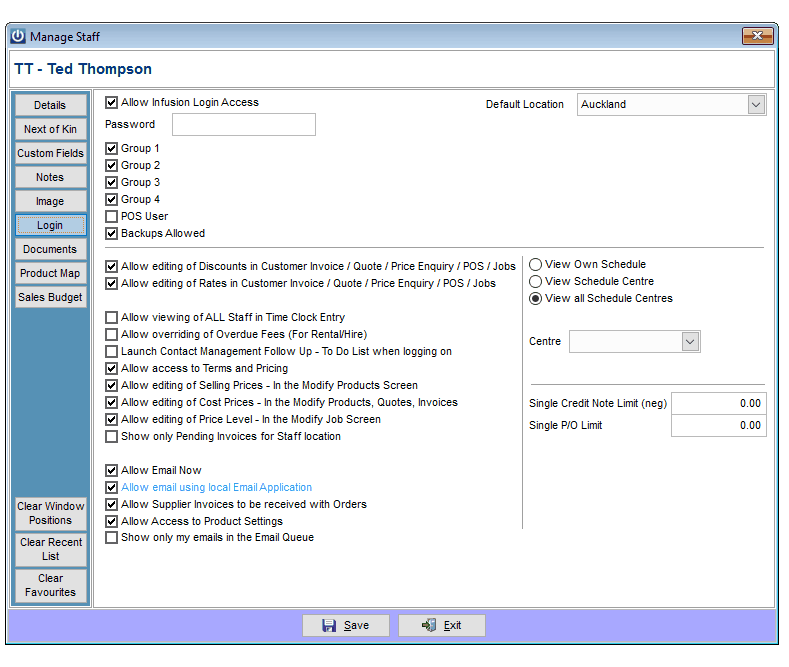
To allow the Staff member to Log in to Infusion select Allow Login Access.
As part of this, set a Password for the Staff member. Access to sections and functionality of Infusion can be set through the remaining tick boxes on this screen. See Admin / Manage Menu Groups for more details on this.
By specifying a Default Location, when Purchase Orders are raised by the Staff member the location on the Purchase Order will be set by default to this value. The colour displayed is set from under Admin / Settings / Products / Manage Locations.
There is an option to Allow editing of Discounts in Customer Invoice / Quote / Price Enquiry / POS screens. Similarly there are options to Allow editing of Rates in Customer Invoice / Quote / Price Enquiry / POS and Allow Overriding of Overdue Fees (For Rental/Hire).
For those Staff members using the Contact Management module regularly there is an option to Launch Contact Management Follow Up - To Do List when logging on. With this option selected a list of all Follow ups events assigned to the staff member will display.
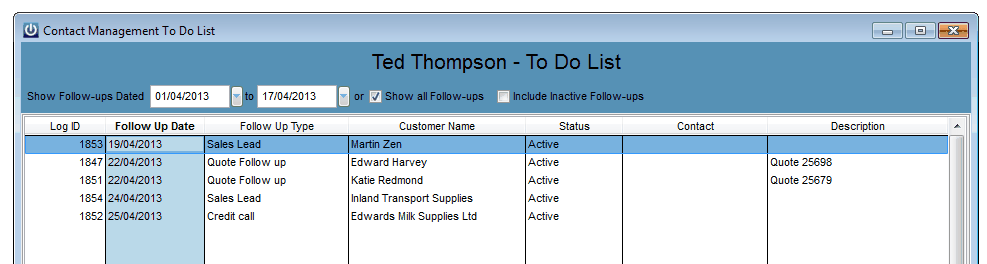
The default date range for these is from the beginning of the month to the current date. Tick box options are available to Show all Follow ups for this staff member and to Include Inactive Follow ups.
If the staff member has been activated for use with the Scheduler, the level of detail they can seen can be set from their account. This is to either view:
1) Just their own Schedule.
2) Schedules for all staff set against the selected Centre.
3) All Schedules (i.e. all Staff assigned to all Centres).
Staff access can further be restricted by controlling access to the Customers terms and pricing tab, preventing unauthorised users from giving customer credit facilities or changing the credit status without approval.
Two options exist to restrict staff from changing selling prices and or from changing the cost prices stored against a product code. While the values can still be viewed they cannot be changed manually.
The access to change the price level set against a job can also be restricted from this screen.
For systems where there is a large number of pending invoices across multiple locations you can select the ability to only display pending invoices set against the location associated with the staff member logged in.
The Staff member’s ability to send emails from the system can be restricted to Allow email now where a range of forms from the manage screens will be sent directly and by pass the queued email facility.
The allow email using local application once activated will allow the user to send an email directly using their local email client such as Outlook. The advantage of this is that it will use you standard email ligature and be recorded in your outlook system.
Individual staff members can be given access to receive and process the supplier invoice at the same time as the packing slip.
The allow access to product settings will stop the user from accessing and making changes to the settings tab under each product.
The Show only my emails in the queued emails will allow the user to send their own emails from the queued email screen.
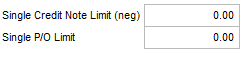
Each Staff member can be assigned a limit to which they create Supplier Purchase Orders and Issue Customer credits.
Documents Tab
The documents tab will enable documents relating to the staff member to be stored against their staff record, such as employment agreements, certificates, and awards.
When Add is selected you will be prompted to locate the document via the windows browser. Documents are then copied into the data\staff\documents folder.
Alternatively a more advanced file storage structure may be used by selecting the hyper link. At this point you will for the first time be prompted to create a sub folder for the staff member rather than putting the information directly into documents it will now be placed in data\staff\documents\TT.
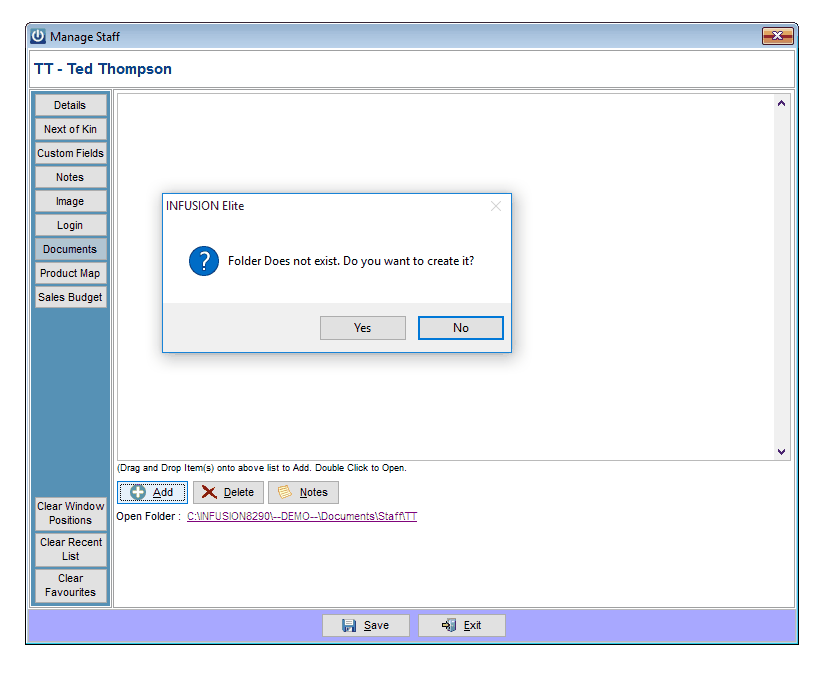
Using this method enables all users to save documents directly into the staff\documents\TT folder and to access them via the system.
Product Map
Allows setup of labour codes used in the Time Clock entry module (only available in Service Manager and Elite).
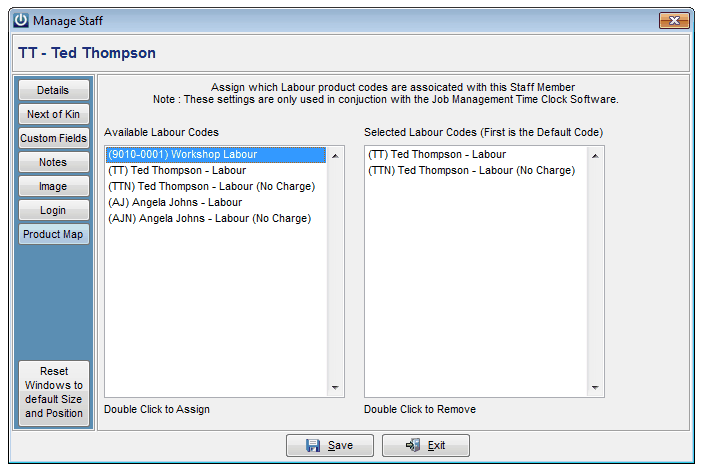
The Available Labour Codes section lists all Staff type product Codes setup. To make these available for use by the Staff member in the Time Clock, double click on a Code. This will copy it to the Selected Labour Codes field. The labour codes available in the right column will be available to be used on a Job when logged in under the Staff member.
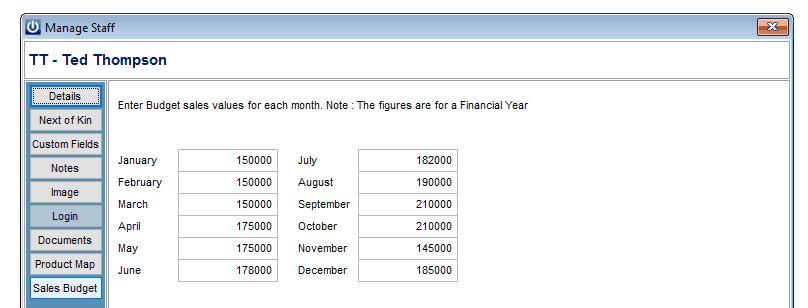
Sales Budget
Sales Budgets can be set up against each staff member and used to produce performance reports.
The option to Clear Windows Positions will reset the user screen preferences back to the default, this will be useful if the user changes from a smaller to a large wide screen.
The Clear recent lists and Clear favorites will reset these for the staff member.
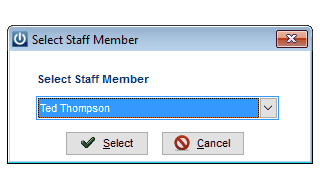
Contact Management To DO List
Contact Management
Selecting the Contact Management Menu or right clicking on the staff member and selecting Contact Management will allow the user to store events against the staff member such as employment meetings, birthdays, certification renewal.
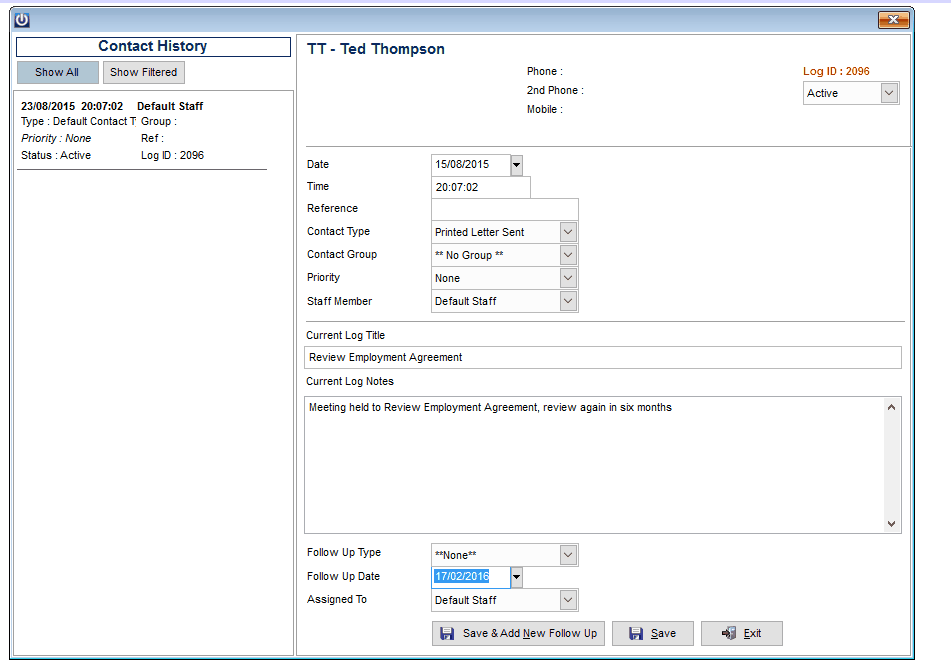
Events can loaded as a single occurrence and completed, or set for a follow up at a predefined date.
Reports
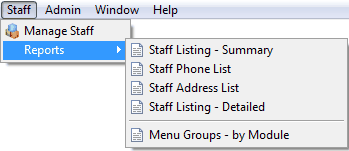
Staff Listing - Summary
Lists all Staff Members by their Staff ID and Name.
Staff Phone List
Lists all Staff Members and their Alternate, Mobile and Phone Numbers.
Staff Address List
Lists all Staff Members and their Address Details.
Staff Listing – Detailed
A detailed listing of all of the Staff Members details.
Menu Groups - by Module
Displays a list of the Access Levels set against each menu function (ie the settings in the Manage Menu Groups menu).