|
<< Click to Display Table of Contents >> Introduction |
  
|
|
<< Click to Display Table of Contents >> Introduction |
  
|

Smart Business Solutions
Introduction / Setup
Installing the Software
Infusion can also be downloaded and installed from our website www.infusionsoftware.co.nz .
Running INFUSION Software
After installation an Infusion icon ![]() will be placed on the desktop. To run Infusion software double click the icon. An icon is also created under the Infusion software group on the start menu.
will be placed on the desktop. To run Infusion software double click the icon. An icon is also created under the Infusion software group on the start menu.
Contact Details
Infusion Business Software Limited
11 Picton Avenue
PO Box 8197
Riccarton
Christchurch 8440
New Zealand
Sales and Support:
Phone: 0800 424 948
0900 777 78
Fax: 03 962 7022
Welcome to Infusion Software
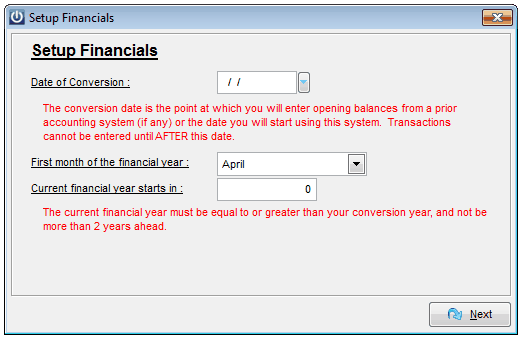
The first time Infusion software is opened a Financials Setup screen will appear. Enter the appropriate information in the fields below:

Date of Conversion
The date at which your data starts. The system will not allow any transactions to be entered at or prior to this date. Once entered, this date cannot be changed unless all data is cleared from the system.
First month of the financial year
In most cases this will be April, however, if your financial year starts in a different month it should be entered here.
Current financial year starts in
The year in which your current financial year starts.
File
Exit
Exits the user out of Infusion software
The last user to exit out of Infusion will be asked to create a backup. Selecting the Yes option to start the process. Select the Default Location option to set a default directory for backups to be saved to. Select the Backup Images option to include the files in the Images folder in to the backup. Select Backup. Browse to the required location if this is different from the default location. Select Save. Select Yes to testing the backup file.
Management Console
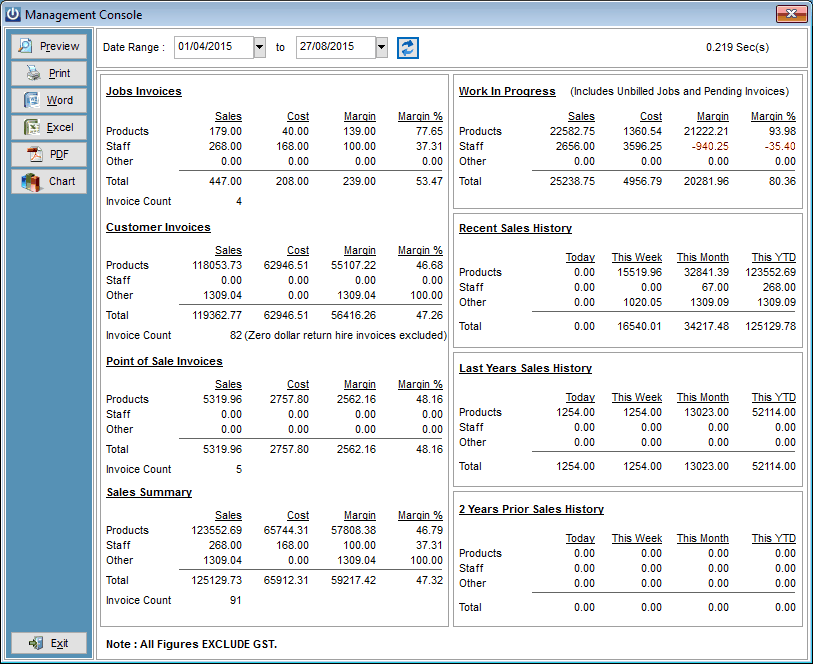
The Management Console displays a range of business activity related data (predominantly Sales) for the specified date range. The current day’s data is displayed by default.

It allows a quick and easy gauge to be kept on how key business indicators are tracking over the specified date range. If a new date range is chosen select the Refresh Data button to refresh the data displayed. Data can be exported / printed into various formats.
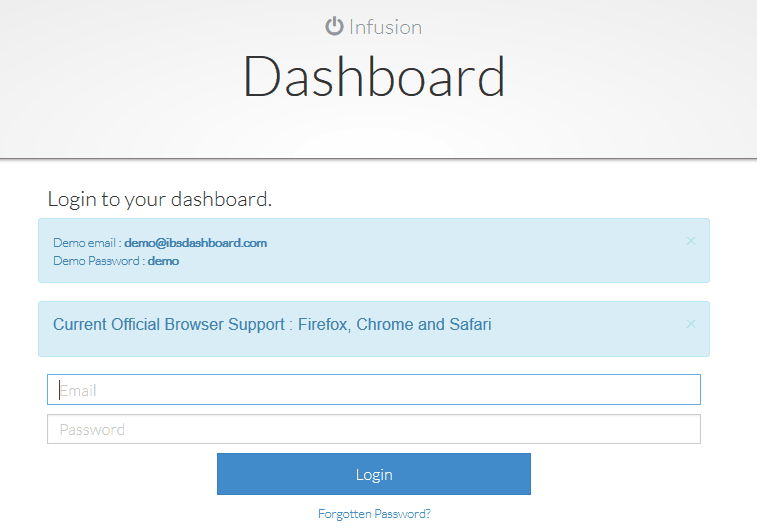
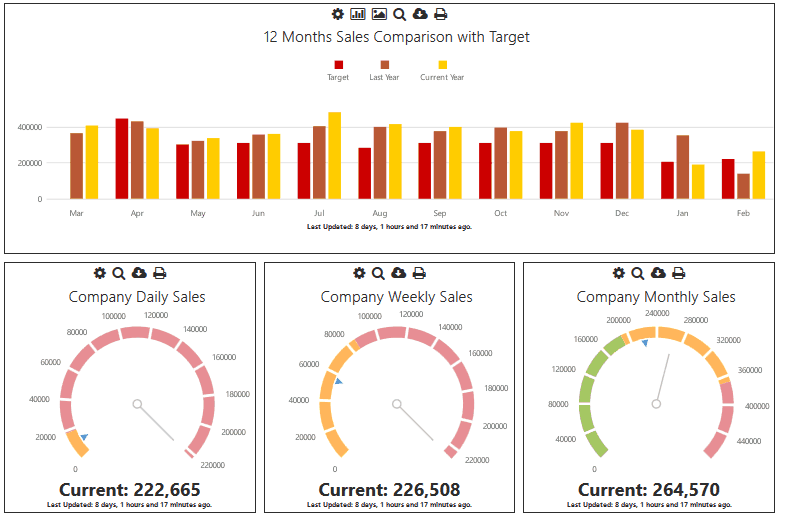
The File / Dashboard on the Web will provide you with access to a range of standard graphs, login to the demonstration site with the demo email and password.

Once activated your company data can be displayed and view via the website.
