|
<< Click to Display Table of Contents >> Customer Items |
  
|
|
<< Click to Display Table of Contents >> Customer Items |
  
|
•Customer Items
Before creating new Customer Items default settings need to be chosen. These are outlined in the Admin Section of the User Manual under the following subsections:
Defaults
- Manage Customer Items Defaults
Settings / Customer Items
- Manage Customer Items Types
- Manage Customer Items Service Types
- Manage Customer Items Service Status
- Manage Warranty Types
- Customer Items Dropdown Menu
Access the Customer Items drop down menu from across the top of the screen.
Note – the display name “Customer Items” will be different if set up under the Long Description box in Admin / Defaults / Manage Customer Items Defaults.
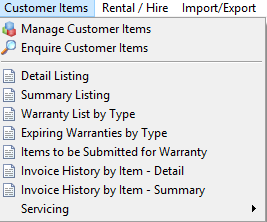
- Customer Items
Customer Items Control Bar

•Create allows creation of a new Customer Items.
•Modify allows modification of an Item currently selected in the Manage Customer Items screen.
•Duplicate allows duplication of an Item.
•Enquiry allows viewing of Item details.
•Notes shows any notes have added to the Notes tab in the Item’s details.
•Reassign allows an Item to be assigned to another Customer. (All history relating to the Item will be retained).
•Servicing displays a window showing all Servicing relating to the Item highlighted in the Manage Customer Items window.
•Print Letter allows a Customer Item Letter to be printed for this Item.
•Email Letter allows a Customer Item Letter to be emailed for this Item.
•Exit Menu closes the Item Control Bar Menu and the Manage Customer Item screen.
Creating a New Item
To create a new Item select Create from the control bar. Select the Item Type being created.
Note: If an Item Type is set against a Product (in the Detail screen) an Item will automatically be created against the Customer when it is sold to them.
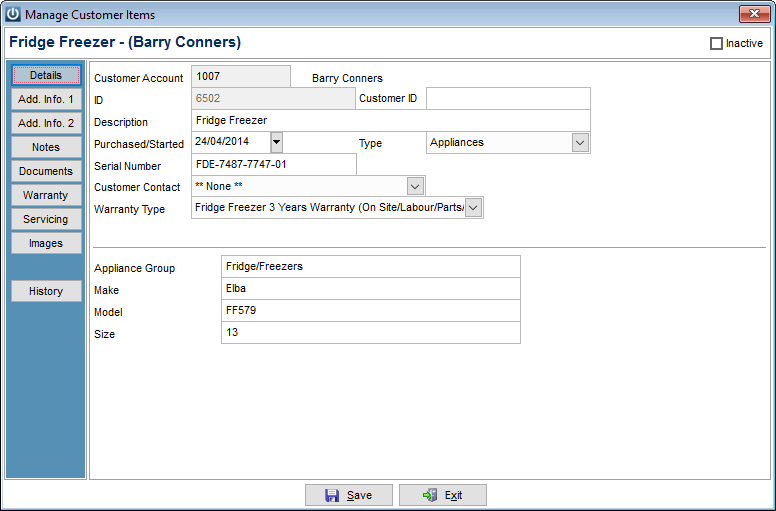
Details Tab
Enter the Customer Account this Item is associated with along with the Customer ID, Description, Purchased date, Serial Number and Contact. Fill in the Custom fields on the Detail and Additional Information screens as required.
The Details and Additional information tabs can contain up to 40 Custom fields set up under Admin / Settings / Customer Items / Manage Customer Items Defaults.
Notes Tab
Allows Notes to be recorded against the Item including a Prompt Note that will display each time the Item is accessed.
Documents Tab
Allows set up of links to any documents (e.g. registration papers) relating to the Item.
Warranty Tab
Allows setup of warranty details for the Item. Select a Warranty Type from the drop down menu (setup under Admin / Settings / Customer Items / Manage Warranty Types).
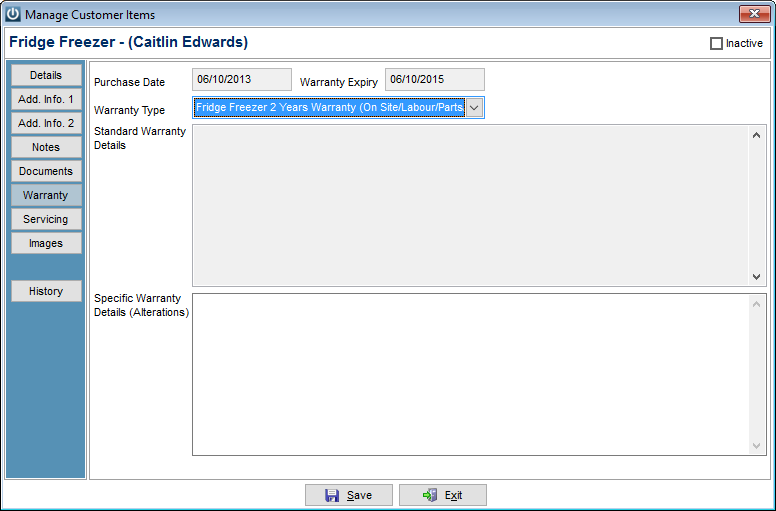
The Warranty Expiry date will be calculated based on the Purchase Date. The Standard Warranty Details of the Warranty are shown. Any specific details or alterations to the warranty relating to this Item can be recorded in Specific Warranty Details (Alterations).
Servicing Tab
Allows set up of Servicing schedules for a Customer Item.
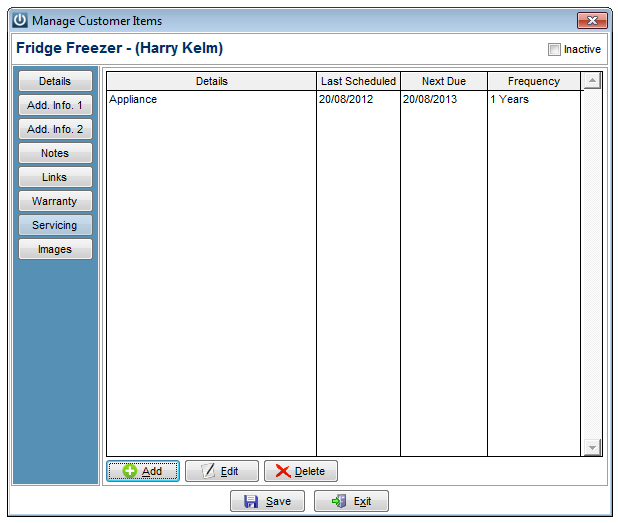
To create a Scheduled Service select Add then the Service Type required. Enter the Frequency and Last service date along with any Notes relating to the Service/Item. If the Item was created by the sale of a Product to a Customer the Last Occurred On date will default to the Purchase/Sale date for the item. A one-off non rescheduling service can be created by selecting the This is a One-Off Service option.
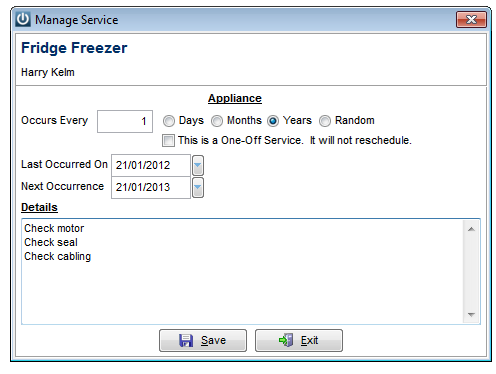
The Next Occurrence date will be calculated based on the frequency setting.
Any Default Services set up against the Item Type will be assigned to the Item when it is created.
Images Tab
Allows multiple Images to be stored against the Item. Notes can be stored against each image.
- Customer Items Right Click Menu
Right mouse clicking on a Customer Item in the Manage Customer Items screen will display the following menu:
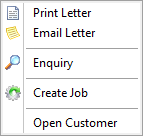
Print Letter – Allows the User to Print a predefined letter relating to this Customer Items.
Email Letter – Allows the User to Email a predefined letter relating to this Customer Item. This will only be visible if an email address is entered for the Customer who the Item is assigned to.
Enquiry – Opens the Customer Items enquiry window.
Create Job – Allows a Job to be created for this Customer Item / Customer.
Open Customer – Allows opening the Customer Maintenance screen of the customer account associated with the item.
- Enquire Customer Item
Allows an Enquiry to be done on the Item.
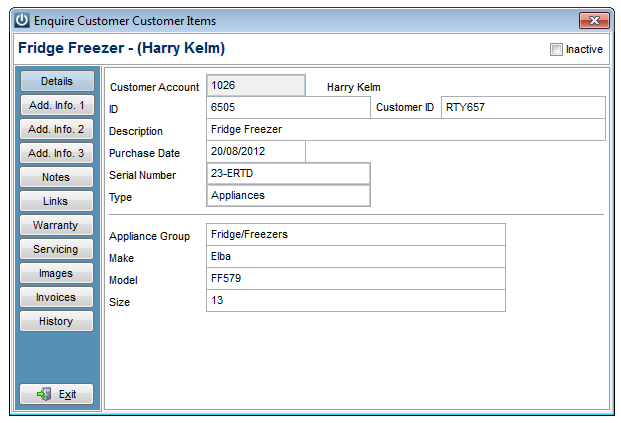
Details and Additional Info shows details relating to the Item.
Notes displays any notes recorded against the Item.
Documents lists all documents linked to this Item. These documents can be opened from here.
Warranty details are viewable from here.
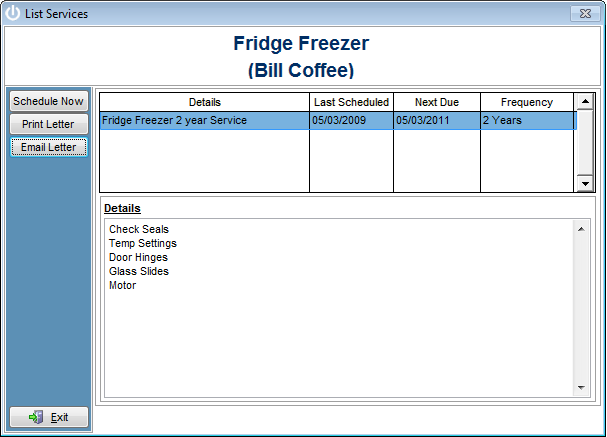
The Servicing tab allows viewing of Job and Invoice details specific to Services for this Item. The Details tab displays the instruction used for the Service.
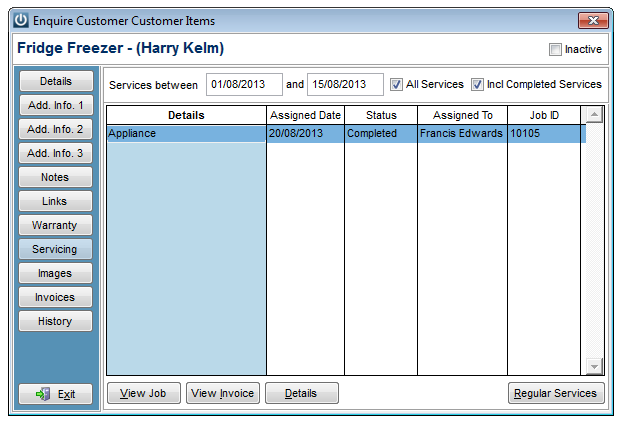
The Regular Services tab displays all of the repeating services (as opposed to one off services) and allows a service based on one of these to be scheduled.
Images of the Item can be viewed.
Invoices for this Item are listed and can be Printed.
- Customer Item Reports
The following reports are available for Customer Items:
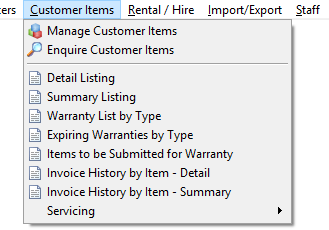
- Servicing
Allows scheduling of Services for Customer Items
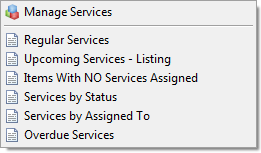
To create Services or preview Scheduled Services select the Servicing option from the Customer Item drop down
Manage Services
Upcoming: Allows scheduling of services based on upcoming service due dates. All Services due within the specified date range will be displayed.
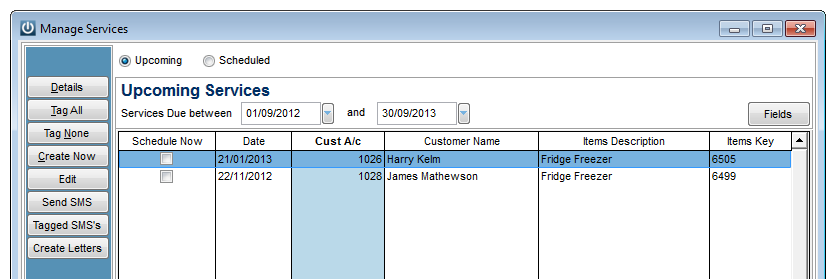
The Details button will display the work required for the highlighted service.
The Tag All option allows all Services to be tagged. Use the Tag None option to undo this. Manually selecting the tick box in the Schedule Now column also allows services to be selected.
Select the Create Now button to schedule the Service. Bulk creation of services will use the due date as the assigned date for the service.
Creating a single service will allow modification of the assigned date / time and who the service is assigned to.
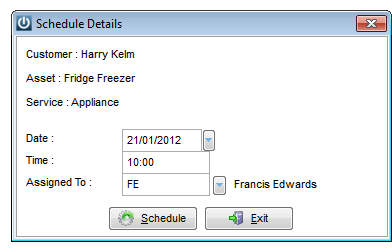
Once created a Service Event will appear under Scheduled Services.
The Service details for a selected item can be modified using the Edit button.
SMS message can be sent to the selected service using the Send SMS option or to all tagged services by using the Tagged SMS’s option.
A letter can be sent to the Customer for the selected service by using the Create Letter option.
Scheduled: Displays scheduled Services

The Details tab will display the details for the Service including a description of what is required and the Job Number if one has been created.
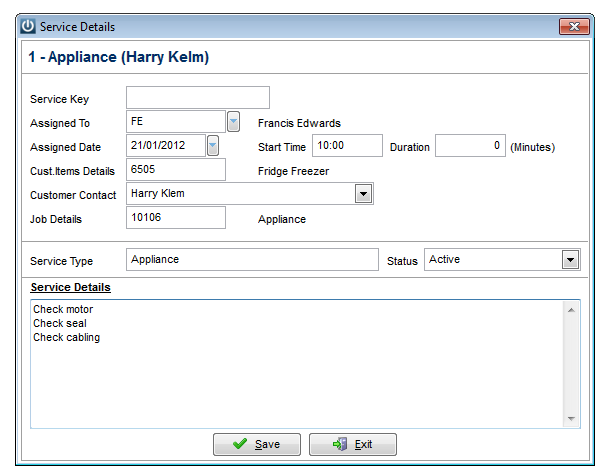
For the Service a Service Key can entered, it can be assigned to a staff member, a Date / Time for it set, a Customer Contact selected and the Status of the Event changed.
The View Service tab will display either a Service Card or Job Enquiry Details if a Job is scheduled when a Service is created.
The Tag All option allows all Services to be tagged. Use the Tag None option to undo this. Manually selecting the tick box in the Schedule Now column also allows services to be selected.
SMS message can be sent to the selected service using the Send SMS option or to all tagged services by using the Tagged SMS’s option.
Servicing Reports
Available Servicing reports are:
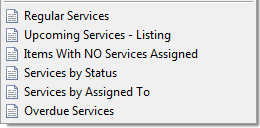
Note on Set up of Default Services for Customer Items
Default Customer Item Types can be set against Product Types, Groups and Sub Groups under the Admin / Settings menu. The hierarchy of which Customer Item Type is used for a Product, when the Customer Item Type on the Product is set to **Default Item Type** is; Sub Group, Group and finally Product Type.
All Customer Item Types can have default Services set up against them. When the **Default Item Type** is set as the Customer Item type on a Product, the Services set against a newly created Customer Item will be the default Services set against the Item Type which was selected using the above hierarchy.
When a Customer Item Type is specified for a Product then the Services created against a new Customer Item will be the Services set against the Item Type plus any other default Services set against that Product.