|
<< Click to Display Table of Contents >> Letters |
  
|
|
<< Click to Display Table of Contents >> Letters |
|
Letters
This module allows Letters to be created within Infusion then printed / emailed to a selection of Customers or Suppliers. It is only available in Infusion Professional and Elite packages.
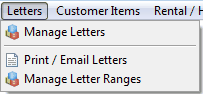
Access the Letters drop down menu from the top menu bar.
Manage Letters
Allows creation and maintenance of Letters.
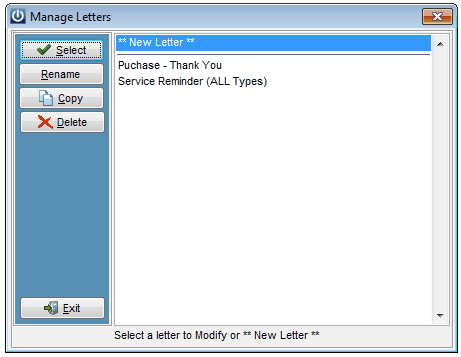
To create a new letter select **New Letter**. From the Select Letter Type dropdown select a Type (what it relates to) and give the Letter a Title.
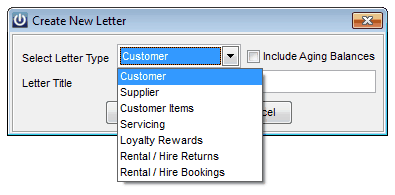
Select OK.
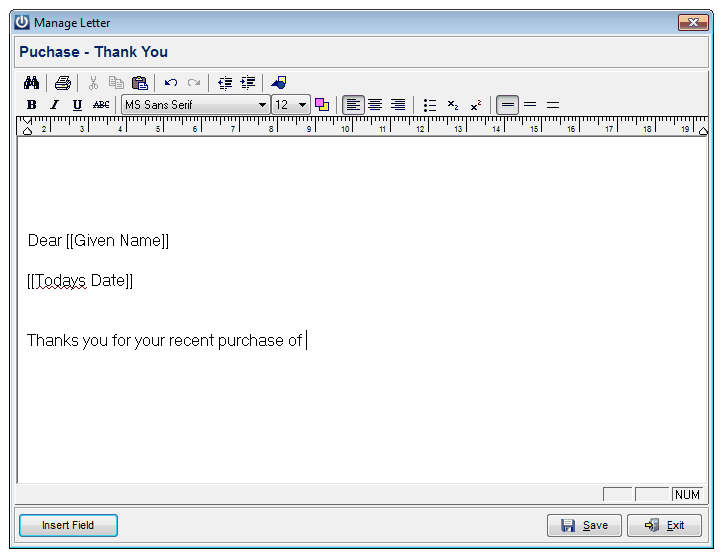
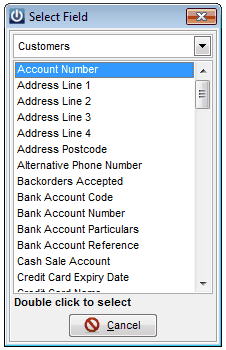
With the aid of the formatting tabs compose a Letter. To insert Mail Merge fields into the body of the Letter use the Insert Field tab. This will display a list of fields related to the type of Letter being created. To insert a field place the cursor where it is required, select Insert Field and double click on the required field.
Text created in the likes of Microsoft Word can be cut and paste into the letter using Ctrl + C to copy and Ctrl + V to paste.
Images can be pasted in to letters.
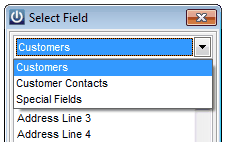
There may be several data field sets available for the letter. Select the dropdown box at the top of the Select Field popup to see all options.
Select Save to save the changes made to the letter. Select Exit to exit out of the letter screen.
Print / Email Letters
Allows printing and emailing of Letters. Select a Letter then OK. If a range selection has been set up (see the Manage Letter Ranges section) select the appropriate values. View the letter on the screen through Preview. Either select Print or Email. Only one Letter will be sent to a Customer. The emailing list only works off the main email address or the first Contact. If the first Contact for a Customer has no email address set up then the main email address will be used, if the first Contact has an email address this will be used instead of the main email address.
Manage Letter Ranges
Allows setup of range selections for who Letters will be sent to. To set up a range selection firstly select the Letter. Double click on any fields in the Available Ranges section you wish to include in the selection. This will bring the field over to the Ranges Selected box. Double click on an entry in the Ranges Selected box to remove it.
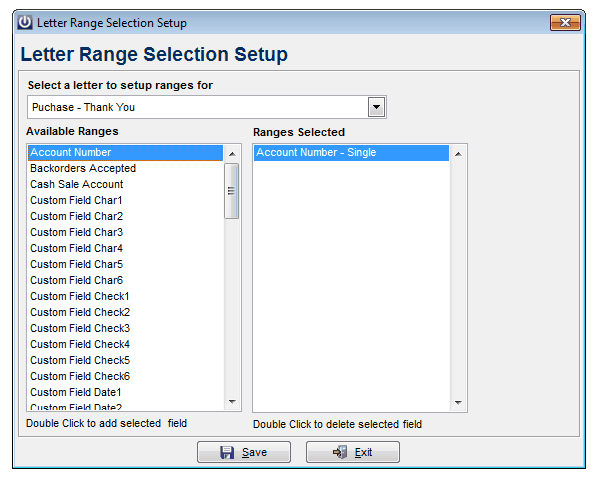
Depending on the options selected you will either be prompted for a single value or to select from a range. Once all fields have been added select Save.
Up to twelve range selections can be set up.